


Ice baths are no longer limited to gyms or elite training centers. With affordable equipment options, you can now create a personal recovery corner right at home. This guide will show you how to build a safe, clean, and efficient home ice bath setup that fits your budget.
1. Choosing the Right Ice Bath Equipment
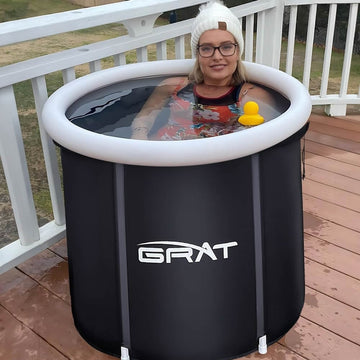
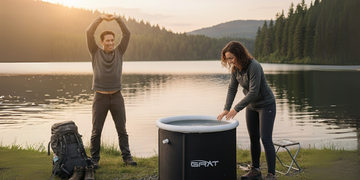
1️⃣ Entry-Level Ice Barrel ($100–$300)
-
Made of PVC or plastic
-
Easy to move, manual ice filling required
-
Perfect for beginners or casual users
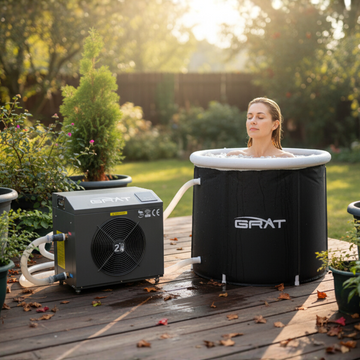
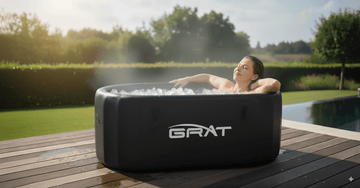
2️⃣ Mid-Range Ice Bath Machine ($800–$1500)
-
Built-in temperature control and circulation
-
Maintains consistent cold water without ice
-
Ideal for fitness enthusiasts who use it regularly
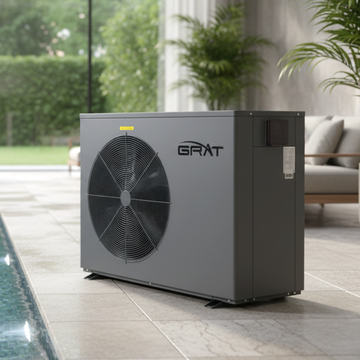
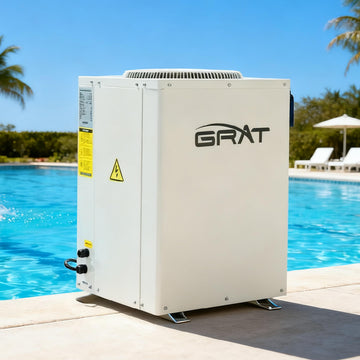
3️⃣ Professional-Grade Chiller ($2000+)
-
Commercial quality for athletes or gyms
-
Can integrate with saunas or contrast therapy setups
2. Space Planning and Safety Tips
-
Recommended space: 1–2 square meters with good drainage.
-
Non-slip flooring: Use rubber mats or textured tiles.
-
Ventilation and lighting: Keep air fresh and visibility high.
-
Power safety: Use grounded outlets and waterproof sockets for chillers.
3. Water Quality and Maintenance
-
Change water weekly or use a filtration system.
-
Disinfect using low-chlorine or ozone tablets.
-
Clean the tub walls regularly to prevent bacteria buildup.
4. Upgrade Your Ice Bath Experience
-
Add LED lighting for mood and visibility.
-
Use a Bluetooth speaker for relaxation or meditation music.
-
Combine with a sauna or hot shower for contrast therapy benefits.
Conclusion
Building a home ice bath is easier than you think — and it doesn’t have to break the bank.
Whether you choose a simple ice barrel or an automatic chiller, your setup can become a personal recovery zone that boosts both body and mind every day.